Introduction
SwiftUI is a development framework that allows you to describe the UI and its behavior using structured statements. You can use this framework to create iOS, tvOS, iPadOS, watchOS, and macOS apps.
SwiftUI provides views, controls, and layout structures to declare your app UI. One of the benefits of using SwiftUI is the ability to see a real-time preview of your UI while you are coding.
Resources
This topic aims to introduce you to SwiftUI and provide an example of how you can use it when working with the Brightcove Native SDK for iOS. Continue learning about SwiftUI with these resources:
Create a new project
To get started, follow these steps to create a new SwiftUI project in Xcode.
-
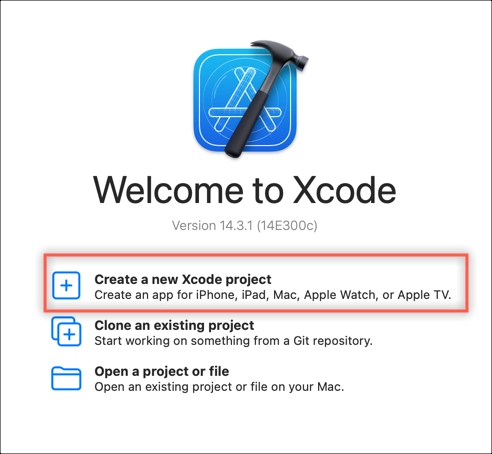
Open Xcode and select Create a new Xcode project.
-
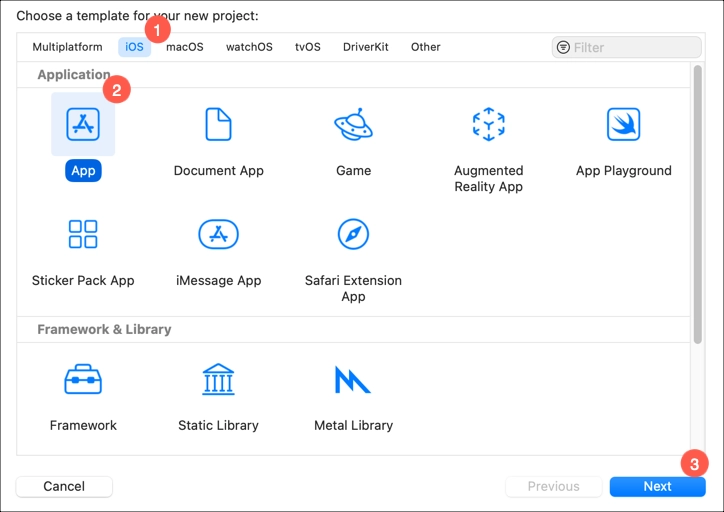
Select iOS as the platform and App as the template. Click Next.
-
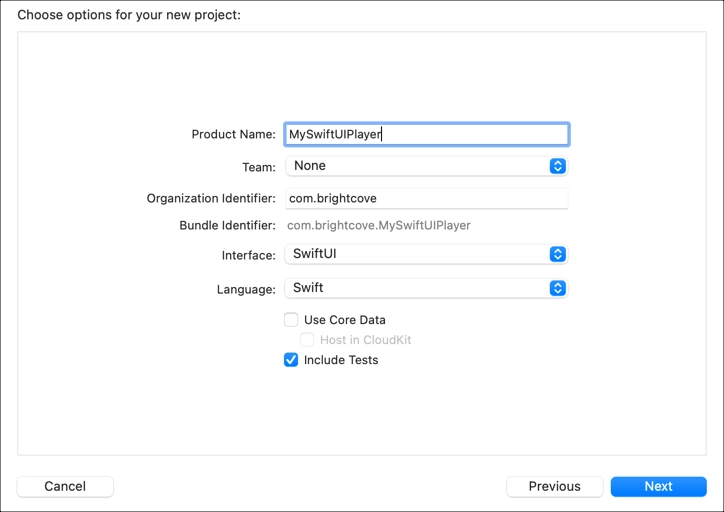
Set the project information as follows:
- Product Name: Enter your project name (example: MySwiftUIPlayer)
- Team: none
The Team field is optional. If you want to distribute your app on the App Store, you will need to select a team that you belong to through the Apple Developer Program. The team name is required for code signing. In this example, we'll select none.
- Organization Name: your company name
- Organization Identifier: com.example-company
This makes the product name unique for the app store. - Interface: SwiftUI
- Language: Swift
Click Next.
Choose the location where you want to save your project and create it.
- Now close the project (yes, close it — this is important!)
Install with Swift Package Manager (recommended)
The recommended way to add the Brightcove Native SDK for iOS to your SwiftUI project is the Swift Package Manager. The SDK is distributed as a single Swift Package that exposes one library product per plugin. Adding any plugin product automatically pulls in the Core SDK, so you only add the products you actually use.
- In Xcode, choose File > Add Package Dependencies.
- Paste the package URL:
https://github.com/brightcove/brightcove-player-sdk-ios - Choose the library product (or products) that match what you need:
Library product What you get BrightcovePlayerSDKCore SDK only BrightcoveIMACore + Google IMA plugin BrightcoveDAICore + Google DAI plugin BrightcoveFWCore + FreeWheel plugin BrightcoveGoogleCastCore + Google Cast plugin (iOS only) BrightcoveAMCCore + Omniture plugin (iOS only) BrightcovePulseCore + Pulse plugin BrightcoveSSAICore + SSAI plugin OMSDK_BrightcoveOpen Measurement SDK (used with BrightcoveSSAI)
Once the package resolves, you are ready to code your app. To learn more about using SwiftUI, see the Resources section.
Add SDK dependencies with CocoaPods (deprecated)
The easiest way to add the SDK and its dependencies to your project is to use CocoaPods.
CocoaPods is a dependency manager that adds libraries to your project. It is not required, but makes installation easier. To install CocoaPods, see the instructions on the CocoaPods site.
-
In your project folder, create a plain text file called Podfile (no file extension).
-
Using a text editor, add the following lines of code to the Podfile and save it. This code does the following:
- Line 1: Points to the GitHub location for the CocoaPods pod specs
- Line 2: Points to the GitHub location for the Brightcove pod specs
- Line 4: Defines the iOS platform version
- Line 5: Sets Pods to use frameworks instead of static libraries
-
Lines 7-12: Install the Brightcove Native Player SDK
- For more information about managing dependencies, see the How To Manage Dependencies With CocoaPods article.
source 'https://github.com/CocoaPods/Specs.git' source 'https://github.com/brightcove/BrightcoveSpecs.git' platform :ios, '13.6' use_frameworks! target 'MySwiftUIPlayer' do # Pods for MySwiftUIPlayer pod 'Brightcove-Player-Core/XCFramework' end -
Open a Terminal session and navigate to your Xcode project folder.
-
In the Terminal session, type the command
pod installand press Return to run the it.
If CocoaPods can not find a compatible version for the pod, or it is not the latest version, try running the following in the Terminal app:
pod updateYou should see a series of messages in the terminal indicating that the Brightcove Player SDK has been added to your project.
-
The
pod installcommand creates the.xcworkspacefile for your project.Notice the last line, which is important — from this point on, you must do the following:
- Open the .xcworkspace file in Xcode
- Do not use the .xcodeproj file
Code sample
To help you with your app code, Brightcove has provided the following code sample: